Challenge #15 London 2012
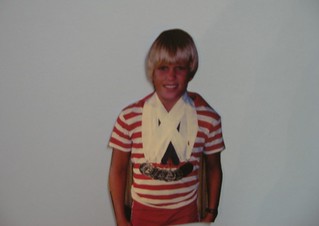
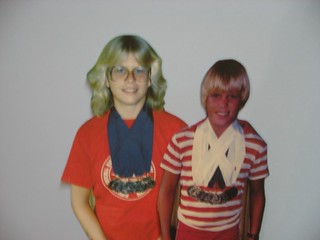
With this challenge, my thoughts went back to the late 70's and early 80's when we had a couple of swimmers who dreamed the Olympic Dream living in our house. I knew I wanted to do a picture frame and feature "my" Olympic swimmers.
I found a few old pictures
and with the help of computer magic I had a picture for my frame.
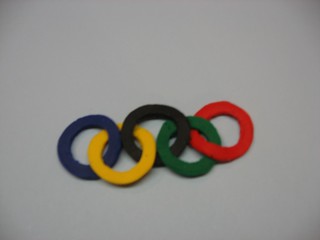
The frame I decorated with good old Sculpty rings.
Here is the final result.
My swimmers did not make the Olympics, but they did go on to earn college scholarships, and even today, swimming plays a big part in their lives. Jenny is an aquatics director and Steve surfs and stand-up-paddle boards. All four grandchildren are excellent swimmers and so the dream goes on!
Tuesday, July 31, 2012
Tuesday, July 17, 2012
Iron Craft Challenge #14- Denim
It's been awhile since I have contributed to a challenge. Hope you are all having a good summer. Decided I needed to get back in the swing of things, so I have two entries for this challenge.
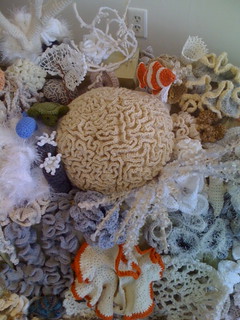
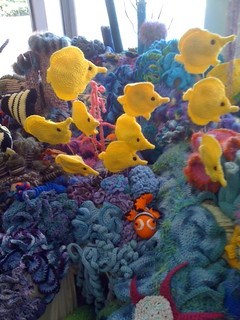
Two weeks ago, I went to St. Pete to the Florida Craftman's Gallery to see their crochet coral reef--it was unbelievable--crocheters from all over the country crocheted thousands of pieces to create a coral reef. Fantastic!!
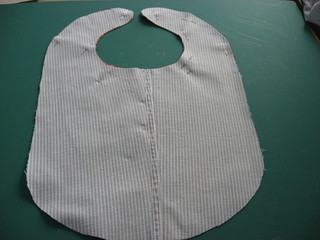
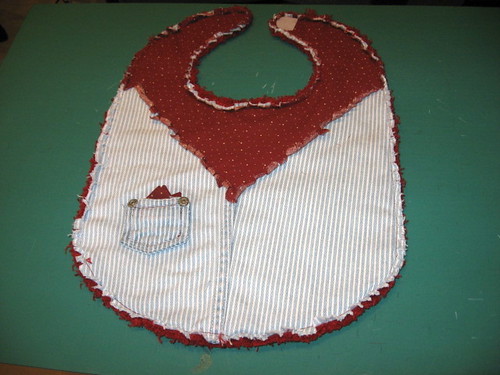
They also had a shop with craft items by Florida artists. I spotted an adorable baby bib made out of old denim. Then in searching the web for denim projects, I came upon a similar bib by treasuresrenewed.blogspot.com Since one of my friends just had a great-grandchild, I decided to make the bib using ideas from both sources.
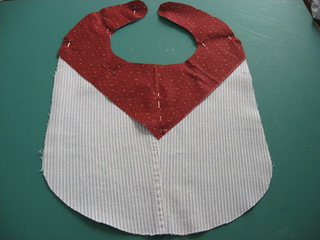
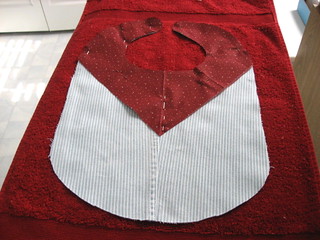
I made a pattern and cut it from an old pair of jeans. I used some red fabric for a bandana, and a little pocket I cut from the jeans and stitched them onto the bib. Then for backing, I used a red towel.
Sewed the pieces together, trimmed the towel to match the bib, fringed the edges all around, and added a velcro closing. My bib was complete.
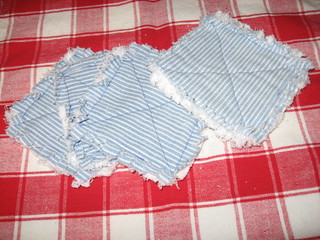
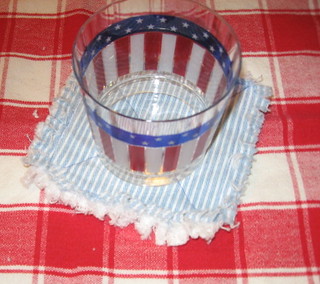
Since I had denim left, I made a set of coasters with an old white towel for backing.
Good for those "sweaty" summer drinks on these hot summer days!
Thursday, May 10, 2012
Challenge 9 Think Inside the Box
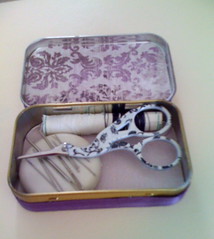
For this challenge, I started with an Altoid tin as my box, card stock, ribbon, and buttons. After covering and decorating the box, I filled it with sewing scissors, a needle and pin magnet, and some thread. Now I have a little portable sewing box!
I am having camera issues so I had to use my iPhone. Not the best for getting the shots.
Tuesday, April 24, 2012
Iron Craft #8- Love your mother...earth
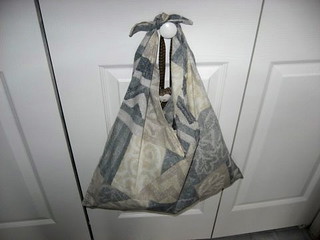
My "something else" for this challenge is an odd pillowcase that I was ready to put in the Goodwill bag. Then I remembered I had seen an idea earlier on Martha Stewart's website for a pillowcase shoulder bag
and thought it would be perfect for this challenge.
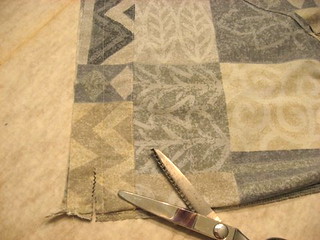
I started with pillowcase and cut off 1/2 inch on the closed end.
Cut on diagonal and hem all four edges.
Insert one of the halves inside the other and sew where they overlap.
Turn inside out and stitch and trim across bottom.
Tie ends and you have a bag!
I started with pillowcase and cut off 1/2 inch on the closed end.
Cut on diagonal and hem all four edges.
Insert one of the halves inside the other and sew where they overlap.
Turn inside out and stitch and trim across bottom.
Tie ends and you have a bag!
Tuesday, March 27, 2012
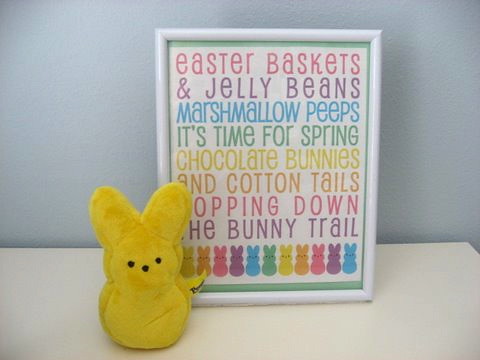
Iron Craft #6- Peeps
I Love Peeps!
Easter and Peeps go together!
I know they have Halloween, Christmas, and Valentine Peeps, but they are not the same as Easter Peeps! I have been real good this year and passed up all the displays--have actually picked up a box and put it back! HOWEVER, Mom and Thing 2 always remember my love for Peeps, and I seem to get some every year. I love them dried out, so the first thing I do is break open the pack and let them air dry. YUM!
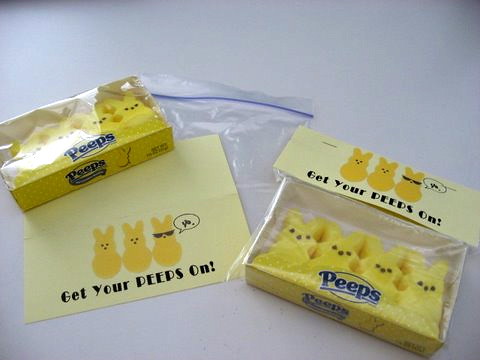
For the challenge this year, I made bag tops for the grandchildren's Peeps which will go in their Easter boxes.
And as I still have clay from one of last year's projects, I took an idea from Thing 1 and sculpted necklaces for the twins. Found the chains when looking for the dollar store challenge--think they turned out cute--hope they like them.
We are looking forward to a visit from Thing 1 next week--first time he has come alone--a teen-ager now! We have lots planned--Busch Gardens, the Dali Museum, an air boat ride, and a visit to Winter, the dolphin with the prosthetic tail, from the movie The Dolphin Tale. Winter is at the Clearwater Marina.
Hope Grandma and Grandpa can stand the pace! Happy Easter to all!
Tuesday, March 13, 2012
Iron Craft #5- Hey buddy, Can You Spare a Dollar?
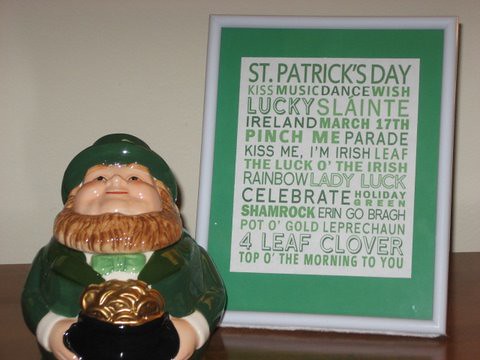
Grandma B has discovered Subway Art--I love it!
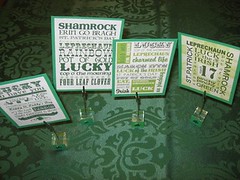
Now how can I use it for my dollar store challenge? First of all, I wanted to use the art monthly in some way. The best idea I could come up with was to get a frame and change the art each month--sort of a permanent display. So off to the Dollar General where I found a picture frame. The result is shown here for St.Patrick's Day.
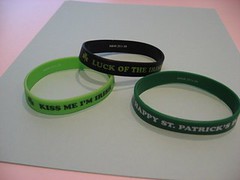
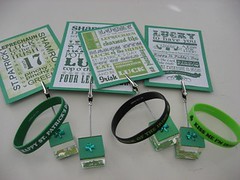
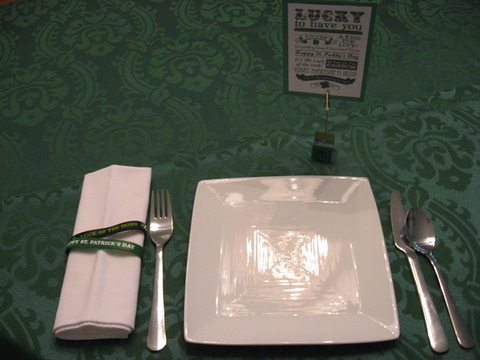
Now, speaking of St. Patrick's Day--I entertain friends every year for a corned beef and cabbage dinner and try to have a little favor to add to my table decor. How can the dollar store and subway art come together again? At Michael's I searched the dollar bins, and found photo clips and also some rubber bracelets. The clips were a real bargain--66 cents each! The following pictures show how I used them.
So from a German-Swede Grandma--Erin Go Braugh!!
Tuesday, February 14, 2012
Iron Craft # 3- Warm Up
This week the theme for Iron Craft was Warm Up. I decided to make something for the new dog in the family--Djoser--Thing 1 and Thing 2's dog.
I searched the web for an idea and came upon the domestikgoddess.com who had directions for dog boots which I had been thinking about as a project. I had the supplies on hand--polar fleece, some non-slip material (I used the rubber like material you put under throw rugs to keep them from slipping), velcro and elastic.
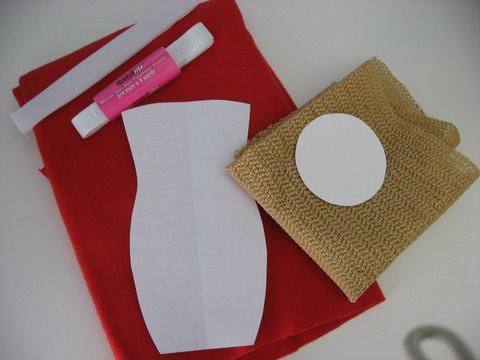
They were easy to sew and turned out, I think, quite well.
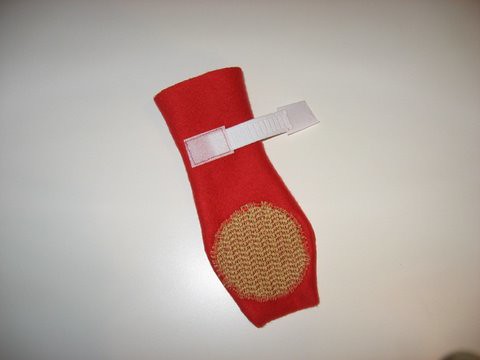
Now for the test! I mailed them to my daughter Jenny, from A Mom and 2 Things and the rest is up to her and Djoser. Do they fit? Will he wear them? I will let her finish this blog as to what happened!
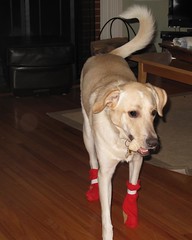
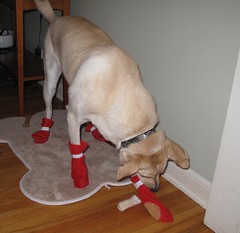
Well, I guess it is my (Jenny's) turn to tell what happened...the first time I tried putting them on Djoser was not a good experience. No photos to show because as fast as I could put one on, he would take it off. He is a puppy after all. Tonight I decided a 3 prong approach- hubby with the camera, me with the booties and Thing 1 with a rawhide. We were able to get them on him and he even walked around (pranced as our old dog use to do with hers). He actually left them on for awhile.
I am not sure what he would do if I were to have left them on- they might have been chewed up. I think eventually he would get use to them. I only wish we had some real snow to try them outside. Djoser does thank grandma for the great gift though.
And for those wondering his full name is King Djoser of Saqqara -he is named after King Djoser (pronounced Zoser) from the 3rd Dynasty Egypt who is buried in the Step Pyramid. With all of my husband's travels in the Middle East we could not name him something like Bud now could we?
I searched the web for an idea and came upon the domestikgoddess.com who had directions for dog boots which I had been thinking about as a project. I had the supplies on hand--polar fleece, some non-slip material (I used the rubber like material you put under throw rugs to keep them from slipping), velcro and elastic.
They were easy to sew and turned out, I think, quite well.
Now for the test! I mailed them to my daughter Jenny, from A Mom and 2 Things and the rest is up to her and Djoser. Do they fit? Will he wear them? I will let her finish this blog as to what happened!
Well, I guess it is my (Jenny's) turn to tell what happened...the first time I tried putting them on Djoser was not a good experience. No photos to show because as fast as I could put one on, he would take it off. He is a puppy after all. Tonight I decided a 3 prong approach- hubby with the camera, me with the booties and Thing 1 with a rawhide. We were able to get them on him and he even walked around (pranced as our old dog use to do with hers). He actually left them on for awhile.
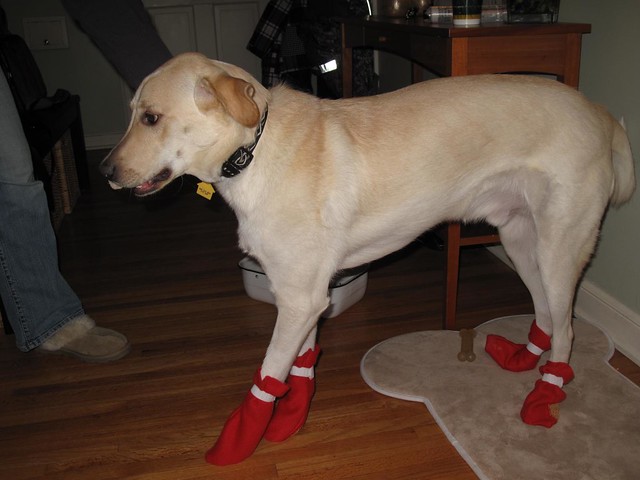
I am not sure what he would do if I were to have left them on- they might have been chewed up. I think eventually he would get use to them. I only wish we had some real snow to try them outside. Djoser does thank grandma for the great gift though.
And for those wondering his full name is King Djoser of Saqqara -he is named after King Djoser (pronounced Zoser) from the 3rd Dynasty Egypt who is buried in the Step Pyramid. With all of my husband's travels in the Middle East we could not name him something like Bud now could we?
Tuesday, January 31, 2012
Iron Craft #2- Hearts and Flowers
As usual--a little old and something new!
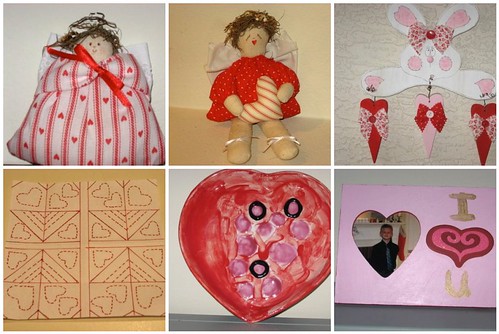
For the old-and still in use today--
A front door welcome, stuffed Valentine angel, a Valentine pin and stuff from Sophie and Lucas.
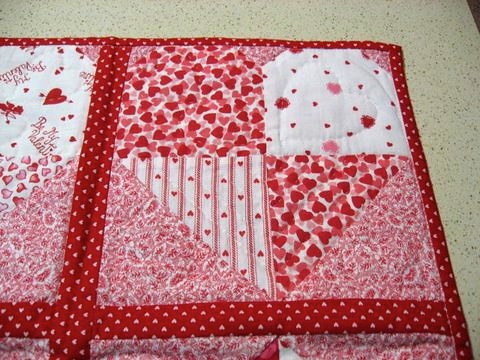
Now for the NEW--while putting out my "old" decorations, I decided I would like a mat to put under some candles on a chest in my dining room. A perfect project for Challenge 2! So off to check my "stash" where I had a lot of Valentine fabric from past years. I also had a quilt heart square pattern among my "stuff". I used the square pattern
and then multiplied it by 4
and I had my mat.
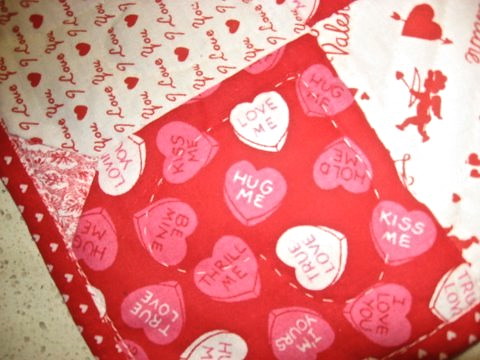
I quilted it with different size hearts.
Unfortunately, I used white thread and it doesn't show up to well, so I have drawn out the pattern I made up.
All in all, I am pleased with my project!
Tuesday, January 17, 2012
Iron Craft 2012 #1- Paper
Happy New Year 2012
2012 brings us another year of crafting. Hopefully, with the new format-every other week-I will be able to keep up! Last year, I think I ran out of ideas about Halloween! Paper is our first challenge.
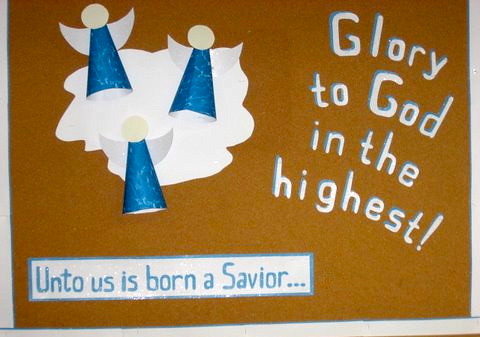
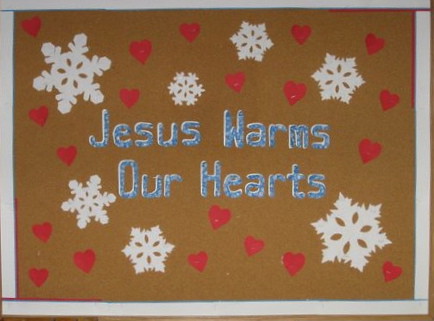
I was trying to think of an idea while cutting out letters for a bulletin board. When--duh--I was doing a paper craft! I volunteer at church and the job of the bulletin board fell to me. I guess as an ex-elementary school teacher, they felt it was right up my alley.I have enjoyed the challenge!
This is the board I did for the Christmas season.
This is the latest one I put up this week.
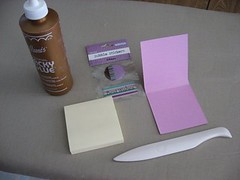
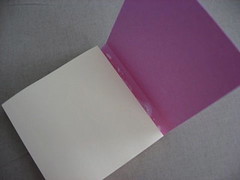
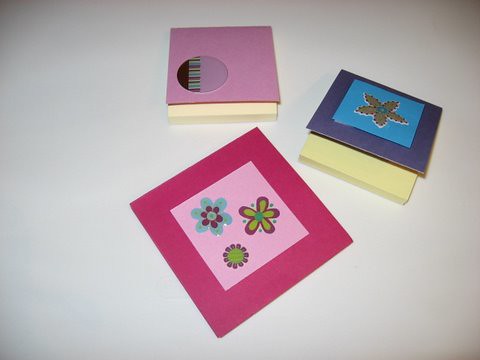
However, for the first challenge I wanted to do something else. I decided to do these simple little note pads using sticky notes. Measure and cut out of heavy stock paper, a cover. Be sure to allow for the fold-over top. Using good glue, attach the paper to the back and top of the sticky pad.
Decorate the front anyway you wish.
These will make great little gifts. I intend to tuck them into birthday cards for friends. The "Mom" of a Mom and 2 Things has already requested several for herself.
Subscribe to:
Posts (Atom)